
Easily create documents with Document Builder by Module Suite
The following technical recipe shows how Module Suite allows to programmatically create a PDF or an Office Word document through the Document Builder API. This functionality can be especially useful as part of complex business processes, which, for example, need to store information – previously gathered in different parts of the process itself – within a document.
This recipe has been implemented as a SmartUI application. For this purpose, both the form and the description section on the right-hand side of the browser have been designed by leveraging Module Suite Smart Pages: one of the fundamental components of Module Suite, dedicated to personalize the SmartUI and create be-spoke interfaces, menu items or dashboards that are contextualized to the specific business needs. Additional information on the Module Suite Smart Pages can be found here.

In this recipe, information and data are first collected through an intelligent form. The Add Product form field utilizes a Smart DropDown widget to leverage a remote data source – invoked via a Service URL or a Module Suite Content Script – to pre-fill the field.
The below image shows how to configure the Smart DropDown widget. From the widget’s configuration section, you’re able to add a Module Suite Content Script ID or a Service URL, whose execution will return a json formatted data source, that will populate the widget’s initial values.

Inserting a value for one of those fields will instruct the system to execute the corresponding code during the loading of the Form and consequently the pre-filling of the widget.
In our specific example, as mentioned above, we are utilizing a Module Suite Content Script. Its Data ID can be transmitted to the system in different ways:
- by simply typing the DataID in the field;
- by clicking the browse button in the widget’s configuration panel for the Content Script ID parameter and browse to the desired Module Suite Content Script to be used;
- by passing it as a parameter like in our example.
The executed code, as can be seen from the snippet below, will return a j.son formatted data source, that will be used by the widget as its source.
					runCS('Document_Builder_Application')

// Define a list of product objects with ID, description, and image data.
def productsCode = [
    [ id: "R317B",  desc: "Hydraulic pump", 			image:"data:image/png;base64, "+ app.config.products['R317B.png']  ],
    [ id: "Z123X",  desc: "Flux capacitor", 			image:"data:image/png;base64, "+ app.config.products['Z123X.png']  ],
    [ id: "C444Z",  desc: "Discombobulator engine", 	image:"data:image/png;base64, "+ app.config.products['C444Z.png']  ],
    [ id: "T678C",  desc: "Reticulated spline", 		image:"data:image/png;base64, "+ app.config.products['T678C.png']  ],
    [ id: "C909V",  desc: "Liquid force tank", 			image:"data:image/png;base64, "+ app.config.products['C909V.png']  ],
    [ id: "F555B",  desc: "Adamantium filtering tube", 	image:"data:image/png;base64, "+ app.config.products['F555B.png']  ],
    [ id: "Y000X",  desc: "Liquid nitrogen extractor", 	image:"data:image/png;base64, "+ app.config.products['Y000X.png']  ],
    [ id: "Y000D",  desc: "Liquid nitrogen tank", 		image:"data:image/png;base64, "+ app.config.products['Y000D.png']  ],
    [ id: "Y000T",  desc: "Liquid nitrogen tower tank", image:"data:image/png;base64, "+ app.config.products['Y000T.png']  ],
    [ id: "X723C",  desc: "Bubble generator", 			image:"data:image/png;base64, "+ app.config.products['X723C.png']  ],
    [ id: "P0001",  desc: "Hand pump", 					image:"data:image/png;base64, "+ app.config.products['P0001.png']  ],
    [ id: "A005A",  desc: "Fuel analyzer", 				image:"data:image/png;base64, "+ app.config.products['A005A.png']  ],
    [ id: "G004V",  desc: "Gyroscopic gizmo", 			image:"data:image/png;base64, "+ app.config.products['G004V.png']  ],
    [ id: "S234A",  desc: "Podracer stabilizer", 		image:"data:image/png;base64, "+ app.config.products['S234A.png']  ],
    [ id: "S234E",  desc: "Podracer engine", 			image:"data:image/png;base64, "+ app.config.products['S234E.png']  ],
    [ id: "W878W",  desc: "Water treatment unit", 		image:"data:image/png;base64, "+ app.config.products['W878W.png']  ]
]

// Closure to search for product objects based on a given search term.
def searchProductCode = { String term = '' ->
    return productsCode.findAll{ (term) ? it.desc.toLowerCase().contains(term) : true  }
}

// Closure to get a product object based on its ID.
def getProductCode = { Long id ->
    return productsCode.find{ it.id == id }
}


def data = []

if(params.id && params.id.isLong()){

    // Retrieve the product with the specified ID.
    def code = getProductCode(params.id as Long)

    // Prepare data to be returned in JSON format, including product ID, description, and image.
    data = [ text : "${code.id} - ${code.desc}", id : code.id ]

} else {

    // Search for products based on the 'term' parameter.
    String term   = "${(params.term ?: "").toLowerCase()}"

    // Collect relevant product information for JSON response, including ID, description, and image.
    data = searchProductCode(term)?.collect{[ text : "${it.id} - ${it.desc}", id : "${it.id} - ${it.desc}", image : it.image ]}

}

// Return JSON data
json(data)
The document will be composed through the Document Builder API. The default API, together with a closure (utilized as a configuration element), can easily build a document from scratch, by formatting and injecting the information in all the sections of the document itself.
					// Closure for creating a document based on the given form and document type.
app.api.createDocument = { form, doctype = "pdf" ->

    // Fetch logo image data from the configured node.
    byte[] imageData = docman.getNode(app.config.icons.logoAcme).content.content.bytes

    // Define a closure for building the document content.
    Closure closureDocBuilder = {
        document(
            size: 'A4',
            margin: [top: 2.inches, bottom: 1.inch],
            pageCount: 1,
            header: { info ->

                // Create a header table with logo and company information.
                table(margin: [top: 0.5.inches], padding: 0.px, border: [size: 0.px], columns:[70,30]){
                    row{
                        cell{
                            image(data: imageData, height: 48.px, width: 108.px)
                        }
                        cell(font:[family: 'Helvetica', size: 8.pt, color:"#999999"], align:"right"){

                            text "ACME Corporation",  font: [bold: true]
                            lineBreak()
                            text "Via Penate 4"
                            lineBreak()
                            text "6850 Mendrisio"
                            lineBreak()
                            text "Switzerland"

                        }
                    }
                }
            },
            footer: { info ->

                // Create a footer table with date, contact info, and page numbers.
                table(border: [size: 0], columns:[5 ,90, 5]) {
                    row {
                        cell ""
                        cell (font:[family: 'Helvetica', size: 8.pt, color:"#BCBCBC"], align:"center"){
                            text "Date Generated: ${info.dateGenerated.format('yyyy-MM-dd hh:mm a')} 610.666.8980 | http://www.acmecorporation.com | page ${info.pageNumber} of ${info.pageCount}"
                        }
                        cell ""
                    }
                }
            }
        ){
            // Create table with forms information (order, product etc.).
            // Table with order details.
            table( columns:[20, 80], padding:1, font:[size:9.px], border:[size:0]){
                row{
                    cell "Subject:", font:[bold:true]
                    cell "Production Order", align:"left"
                }

                row{
                    cell "Order by:", font:[bold:true]
                    cell "${users.current?.displayName?:""}", align:"left"
                }

                row{
                    cell "Order to:", font:[bold:true]
                    cell "${users.getMemberById(form.shiftLead.value as long)?.displayName?:""}", align:"left"
                }

                row{
                    cell "Order date:", font:[bold:true]
                    cell "${new Date().format('yyyy.MM.dd')}", align:"left"
                }

                row{
                    cell "Needed by:", font:[bold:true]
                    cell "${form.date.valueAsDate.format('yyyy.MM.dd')}", align:"left"
                }
            }

            // Table with factory line details.
            table( columns:[20, 80], padding:1, font:[size:9.px], border:[size:0]){
                row{
                    cell "Factory line:", font:[bold:true]
                    cell "${form.factoryCode.value}", align:"left"
                }
            }

            // Empty paragraph for spacing.
            paragraph()

            // Table with product details.
            table( columns:[25, 60, 15], padding:2.px, font:[size:9.px], border: [size: 1.pt, color: '#585858']){
                row background: '#a9a9a9', {
                    cell "Products", colspan:3, align:"center", font:[color:"#ffffff"]
                }
                row background: '#e1e1e1',{
                    cell "Product Code"
                    cell "Product Description"
                    cell "Units", align:"right"
                }

                form.products.each{ product->
                    row{
                        cell "${product.productDescription.value}", align:"left"
                        cell {
                            text "${product.productDescription.value}", font: [italic: true, bold:true]
                        }
                        cell "${product.unitsProduced.value}", align:"right"
                    }
                }
                row {
                    cell "Total Units", colspan:2, align:"right"
                    cell "${form.totalUnits.value}", align:"right"
                }

            }

            // Empty paragraph for spacing.
            paragraph()

            table( columns:[20, 80], padding:1, font:[size:9.px], border:[size:0]){
                row {
                    cell "Notes:", font:[bold:true]
                    cell(font: [size: 8.pt, color: '#666666']){
                        form.notes.value.eachLine{ note ->
                            text note
                            lineBreak()
                        }
                    }
                }
            }
        }
    }

    // Based on the 'doctype', choose whether to create a Word document or a PDF document.
    switch(doctype){

        case 'word':

        return docbuilder.createDoc("Document Builder", closureDocBuilder)

        case 'pdf':

        return docbuilder.createPDF("Document Builder", closureDocBuilder)

        default :

        return docbuilder.createPDF("Document Builder", closureDocBuilder)
    }

}
The closure has been implemented on a so-called application script, which is used to maintain all the Static Variables and global functionalities, in order to optimize the maintenance of the application. The script can be imported within any Module Suite Content Script via the runCS(<ScriptID>) method.
This methodology can be crucial whenever a specific variable or functionality needs to be invoked from different Module Suite Content Scripts, since it avoids the need of replicating the functionality.
Try it yourself!
1. Import and deploy the transport packages to the transport warehouse (Document Builder.zip).
(Please read the article How to – Import/Export Module Suite solution for more details).
The import procedure will generate a tree structure containing all the required elements of the Technical Recipe. In particular, the application folder will include the following elements:
- Ajax, a folder containing a script used to pre-fill the Form DropDown widget.
- Document Builder Application script containing all the static variables and global functionalities to be used by the technical recipe.
- Forms, a folder containing the Form and the Form Template
- Resources, a folder containing the static resources (such as images, logos etc.)
- A Setup Script to automatically configure the technical recipe imported in a new environment.
- SmartUI, a folder used in the Smart Pages SmartUI perspective to act as the presentation of the technical recipe.
The transport package also comes with a custom perspective, called Document Builder, in the perspectives volume.
2. After importing the solution into the system, you will need to configure it. Execute the ‘Document Builder – create documents with Module Suite: Application: Setup’ Script. The result will be the following:

3. Start the application by accessing Document Builder – Create documents with Module Suite folder in Smart UI
4. Personalize it to your needs! Now you can access the BWF builder to easily shape the form layout and its script according to your business requirements.
Featured Content
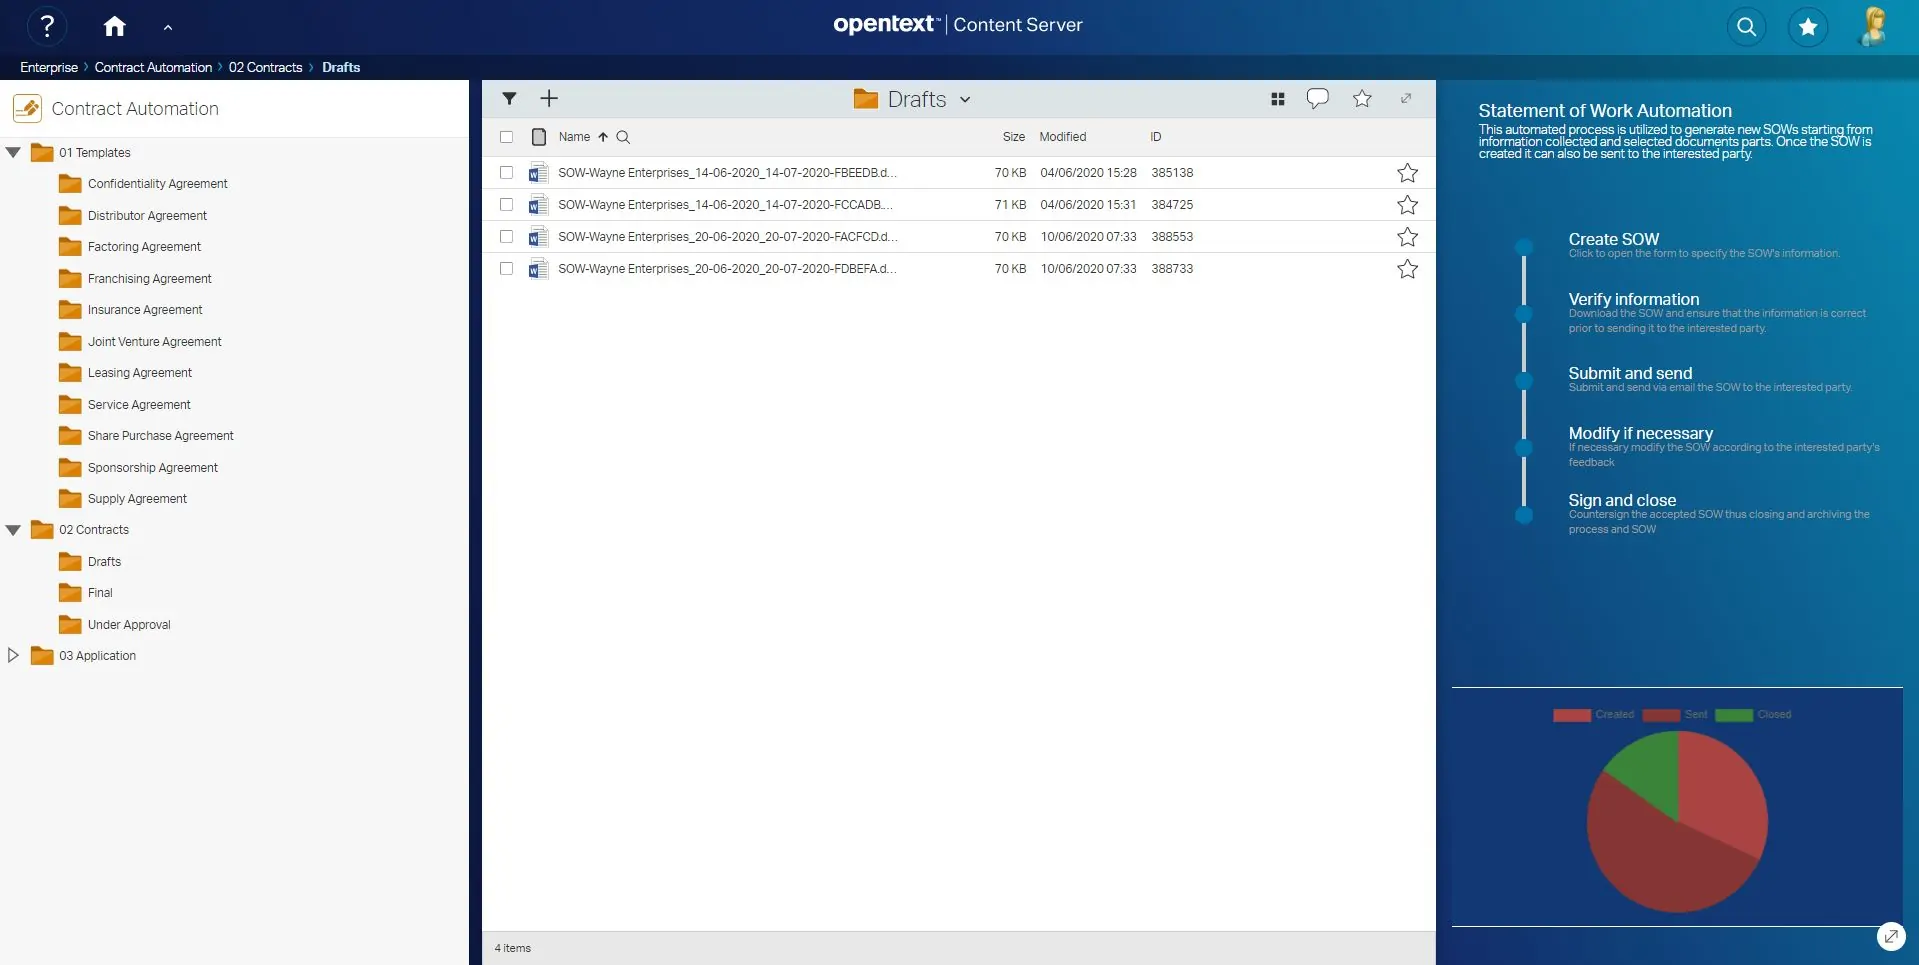
Contract Automation
Read more >
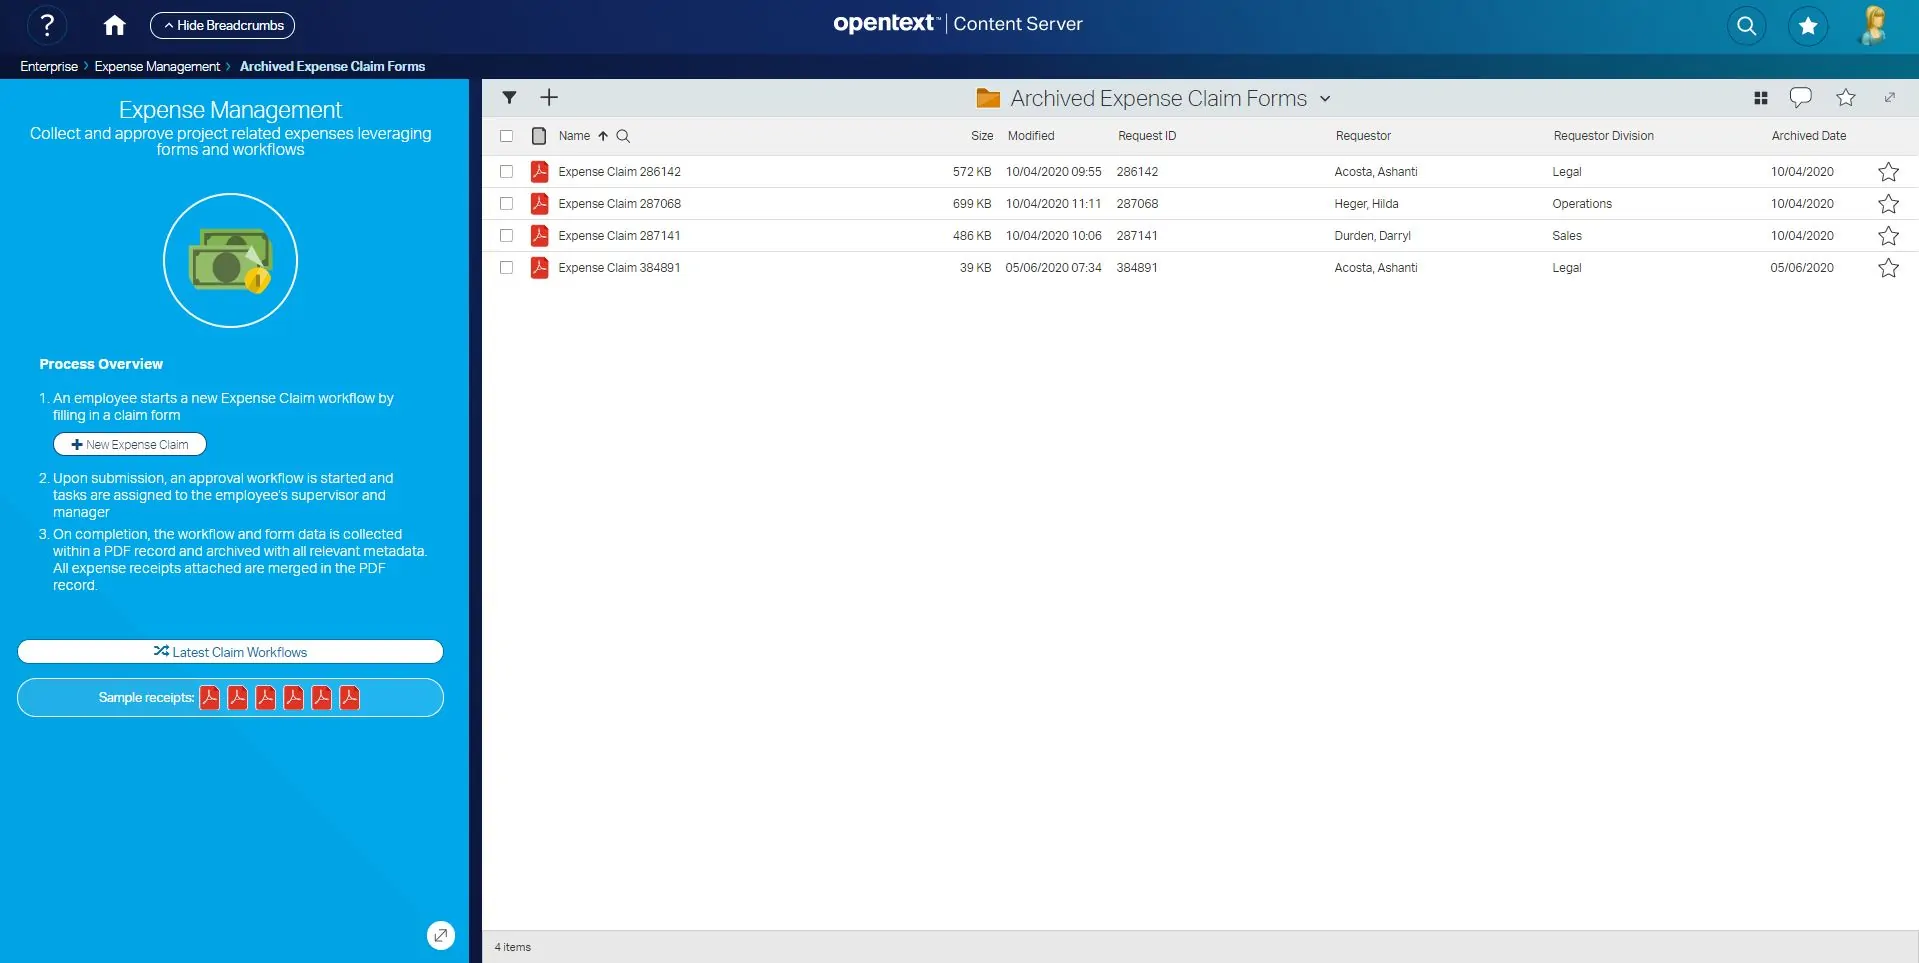
Expense Management
Read more >

Factory Line Management
Read more >


